Other Archives
May 22, 2019
We are just doing the finishing touches on our Kickstarter and will be launching in about two weeks. We are giving a special gift to our community who has supported us up until now by subscribing through our website. If you would like to be included…

April 03, 2019
Hello, everyone. Nice to meet you all. I'm a little late to the blog party. TL;DR — I need to know a little about a lot of things. I am Juan, and I work in astronomy, research and development, emergency response, public relations, resource…

March 26, 2019
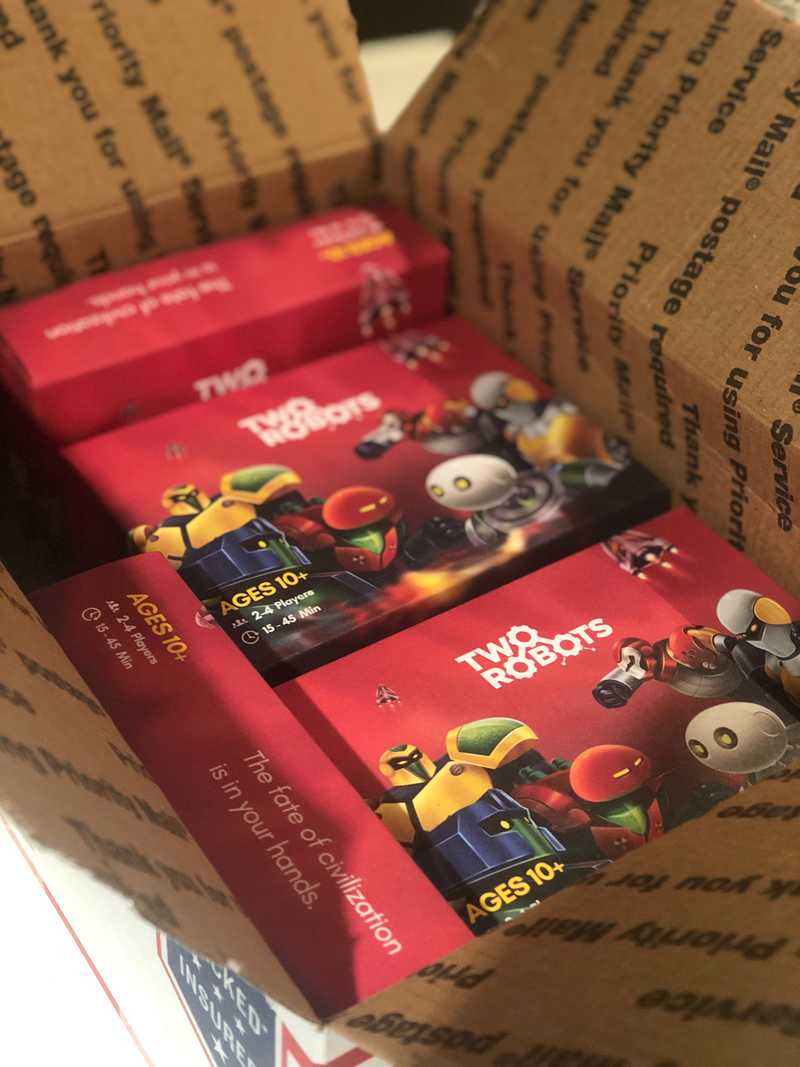
Hope you all are doing well. I wanted to check back in and tell you about some exciting news and share some pictures with you about the things that have been happening around Two Robots HQ. A quick note, we are still running our March Madness…

March 09, 2019
I’ve heard a multitude of people mention the Kickstarter platform is a great way to validate your product within a community. Whether this be a surprise to you or not, it turns out that the single biggest community on Kickstarter (and hence where…

March 05, 2019
I wanted to fill you in on some things that have been happening around Two Robots HQ. First and foremost, we have done a small rebrand to ourselves to be more fun. “Wait, you weren’t fun before?”. Oh nice, I’m glad you asked. We were, but we want to…

February 12, 2019
It’s been a rainy past week down here at Robots HQ, but that certainly hasn’t held us back from bringing you all some really cool updates! We finished out our giveaway, and because the response was so great, we ended up doing another one. If you are…

January 18, 2019
I hope you all are doing great. Another week in the books here at Two Robots HQ in Austin, Texas and we have exciting news. We are doing a giveaway for you all of a pre-release copy of the game as the top prize, as well as an awesome sticker set…

January 04, 2019
Hey there! So your team has come up with some sweet graphics, and you are finally ready to prepare your PDF for printing... You've come to the right place. 😉 First thing you'll want to do is purchase and install Adobe inDesign. If you're trying to…

January 03, 2019
This past week has seen some tremendous growth within the Two Robots community. Our subscriber list is growing like crazy, and we have written and locked in our rules. If you are curious about what’s happening in our world, feel free to subscribe on…

December 22, 2018
Today, we are going to talk about developing a set of mechanics that stick. What exactly do I mean by “stick”? Remember that feeling right after you completed a game, and you thought to yourself, “Wow, I need to play again”. Chances are in this…

December 17, 2018
1. Play test like crazy, then double it. The single best chance to being successful is playtesting. I know I know, you're probably thinking, "Aaron this has been drilled in through every reddit post ever, and every other board game forum!" Yes I…

December 02, 2018
It’s hard to imagine a world without Frux. It rules everything around us. Heck, the helper robot of Perstemico was built from parts bought with Frux. Albeit, it seems to be having some wires short circuiting these days. I’ve been told that there are…

November 22, 2018
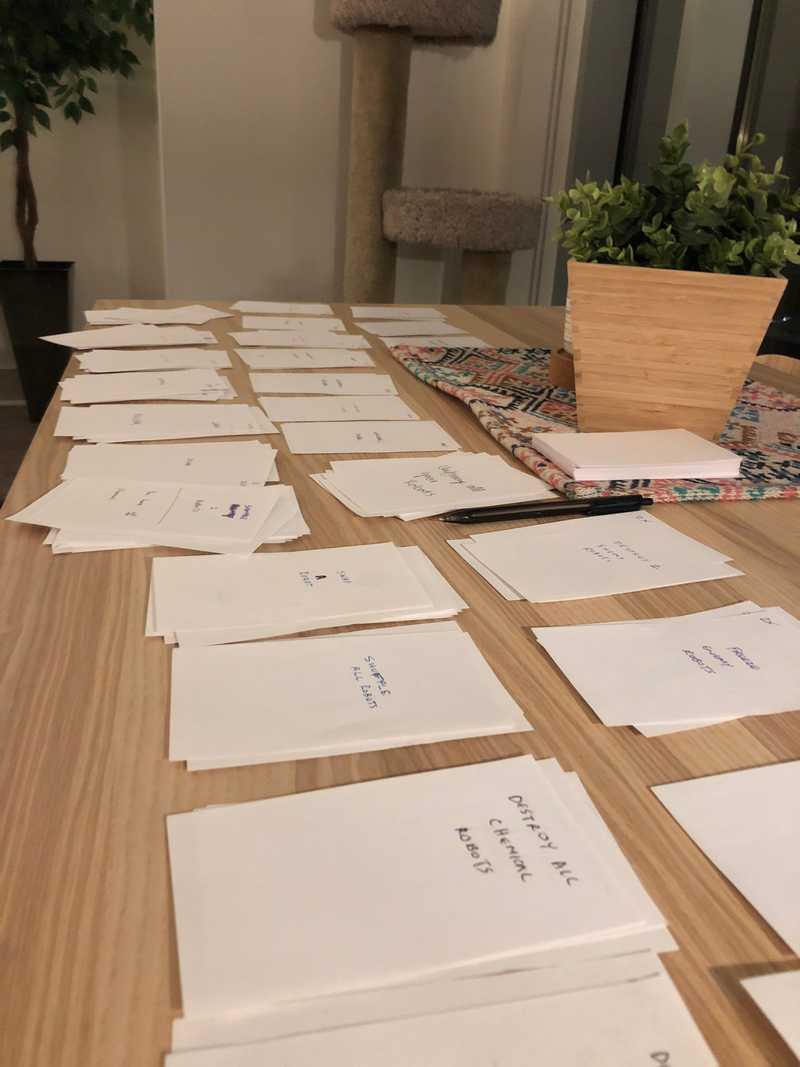
So, you have a great concept. You have been grinding out as many play testing sessions as you can with index cards and you feel like you are in a position to print a prototype. Naturally now the next question becomes, What’s next, Where do I start…

November 02, 2018
Hey Salvagers, Two Robots has five distinct types of robots. Each robot has its own separate backstory and place within our storyline. Today, we are going to talk about the chemical robot. The chemical robot is pretty important to us at Two Robots…

October 29, 2018
Hey Salvagers, Omar here. Today we are going to be introducing to you all a new type of robot, electrical! We actually have talked extensively about the design process of how we created the robots in this with the electrical robot being…

October 27, 2018
Hey Salvagers, Today we are releasing our fifth and final robot type, the Mechanical robot. This won't be the last robot released though, as we have hybrid robots that will be dropped within the coming days, so stay stuned! Fun fact, the mechanical…

October 25, 2018
Hey Salvagers, Today we are introducing to you a brand new robot type, the solar robot. The solar robots design borrows heavily from todays influences with generating solar power. As you can see on its back, it has solar panels which help it…

October 23, 2018
Hey Salvagers, A new day a new robot! Today's featured robot is the Nuclear Robot. Storyline That explosion of excitement you feel in your chest when you've found your passion? That is power! No substitute for it. And believe me when I say that…

October 22, 2018
A Foreword Hey Salvagers, Aaron here. As we talked about in the introduction blog post (if you missed it, you can read it , one of our goals was to create a world that was incredibly realistic. In attempting to accomplish this, we have crafted a…

October 17, 2018
Hey Salvagers, Today we are going to talk about the utility of one of my personal favorite action cards affectionately referred to as “Ice Comet”. Ice Comet As you may or may not know, this card allows you to freeze any two robots on the playing…

October 17, 2018
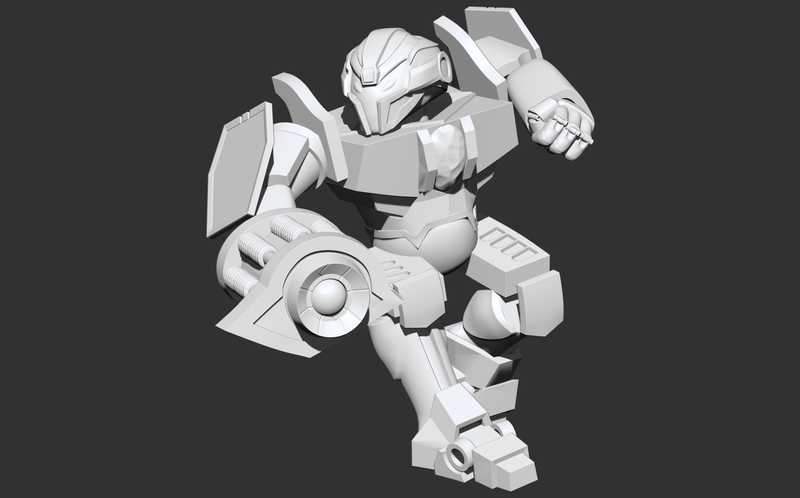
We've added a special class of robots for added twists and turns. Why Heroes Ideation and Card Design Ideas for Peacemaker Design: Mechanical gray head Nuclear "exhaust pipe" high collar around neck Electrical chest divisions and torso proportions…

October 17, 2018
Take a deeper look at how we design our characters and cards. The Italian Man Back in the 15th century, a young Italian boy with no formal education began doing sketches and paintings as a teenager. He would study various disciplines and then…

October 16, 2018
If you're coming from the front page, this is what artificial intelligence told us people would want: 🧤 "Really Sweet Gloves" 👽 "Players Being Abducted" ❄️ "Stuff Getting Frozen" 🚀 "Cool Freaking Gunships" So we just went with that and BOOM, Tw…


