Blender Corner #1: Building the Portal
Blender Corner #1: Building the Portal
What does it take to turn a rough arena sketch into a glowing, animated centerpiece of a competitive strategy game?
In this first entry of Blender Corner, I’ll take you through the full process of creating the Portal — one of the most recognizable elements in Two Robots: Unleashed. From early arena sketches and mesh optimization to shader tricks and real-time lighting in Godot, this post is both a behind-the-scenes look and a practical Blender breakdown.
I’m Gustavo, 3D Artist at Two Robots Studios. I specialize in hard-surface modeling, but I touch a bit of everything — Substance Painter, Blender, Godot, Unity, even some Unreal. Working with this team has been a blast, and I’m excited to start this blog series to share what I’ve learned and built along the way.
From Asteroids to Portals: The Early Arena
When I joined the team, this was the arena design we were using:
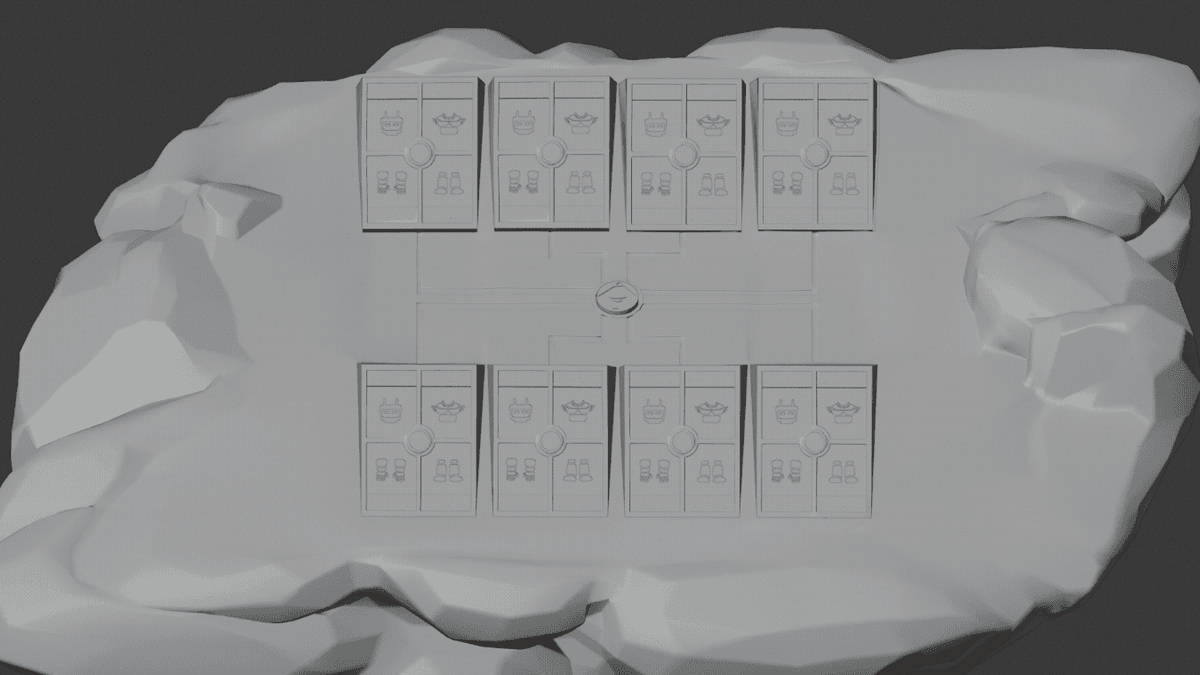
The arena consisted of an asteroid rock, four metallic Rigs, and a center Energy Well used for committing. Back then, committing two built robots to the center meant you won the match instantly.
Introducing the Commit Wheel
Andy, our game designer, proposed a new commit wheel system, where you could commit up to 16 times and earn power-ups along the way. This raised a design question:
How do we display commit counts clearly using just a circular mesh?
That’s where the first portal sketch came in.
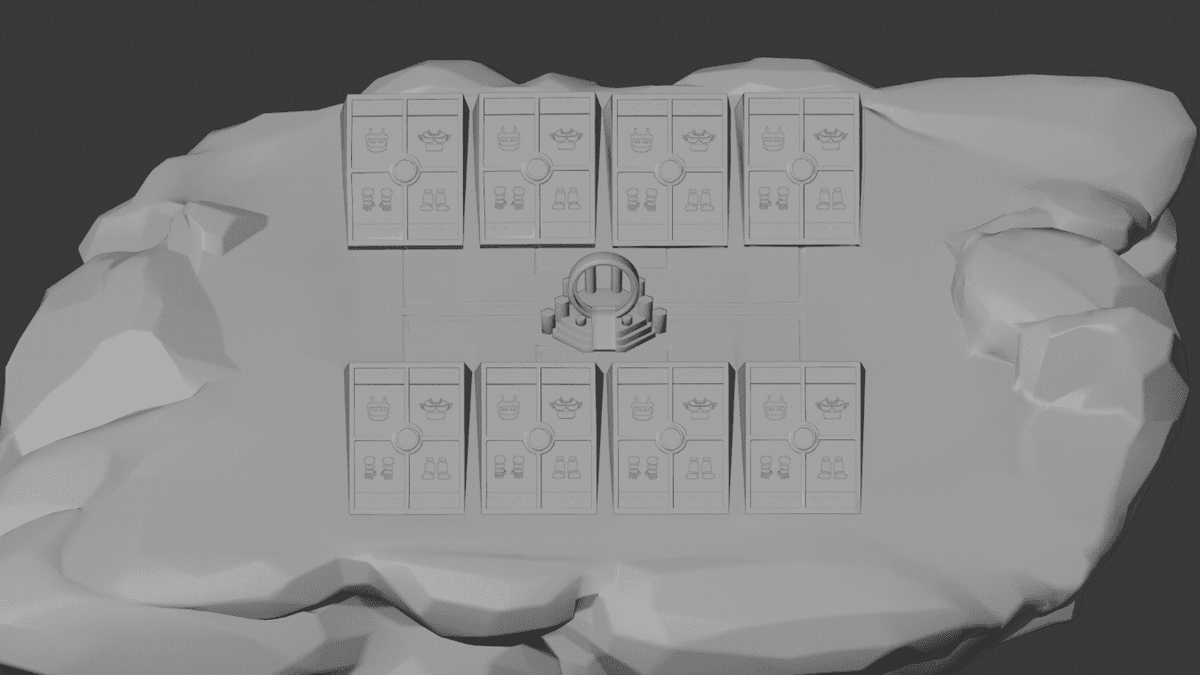
At the time, we were using an orthographic camera, which made certain optimizations easier but restricted flexibility. It allowed us to skip modeling asset backsides, but it locked us into flat movements.
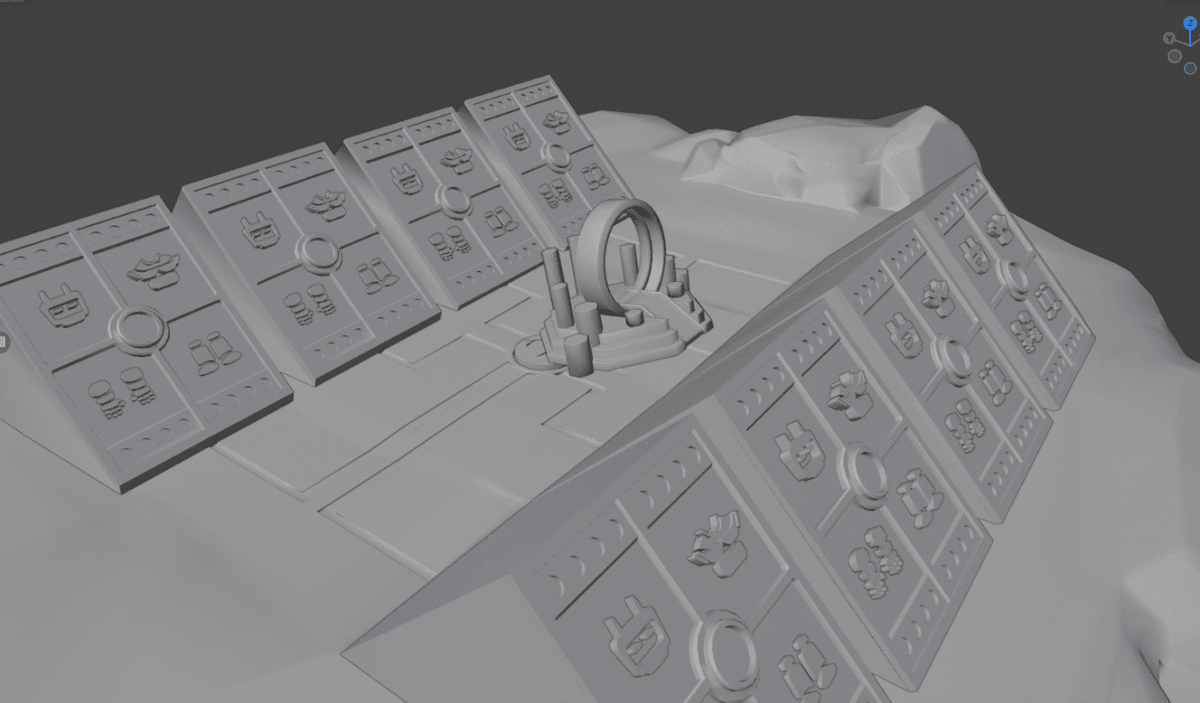
Mesh Optimization
Here’s the bottom of the arena, after I optimized the asteroid from 60k tris down to 32k, cutting unnecessary geometry without any visible loss:
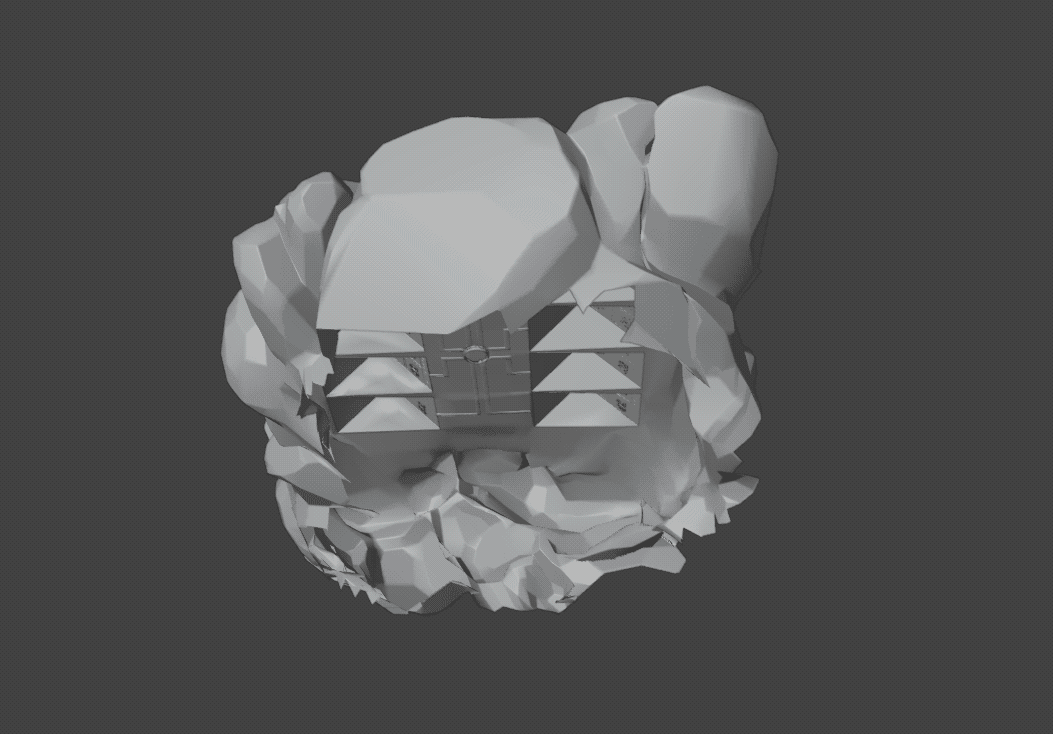
💡 Key Takeaway: Trimming unseen geometry is one of the fastest ways to save thousands of triangles — especially with fixed camera angles.
Iterating on Portal Mechanics
Our first portal iteration used pillars to represent commit counts, but it lacked clarity. In a team brainstorm, we introduced numbers and orbits around the portal — a more colorful and dynamic approach.
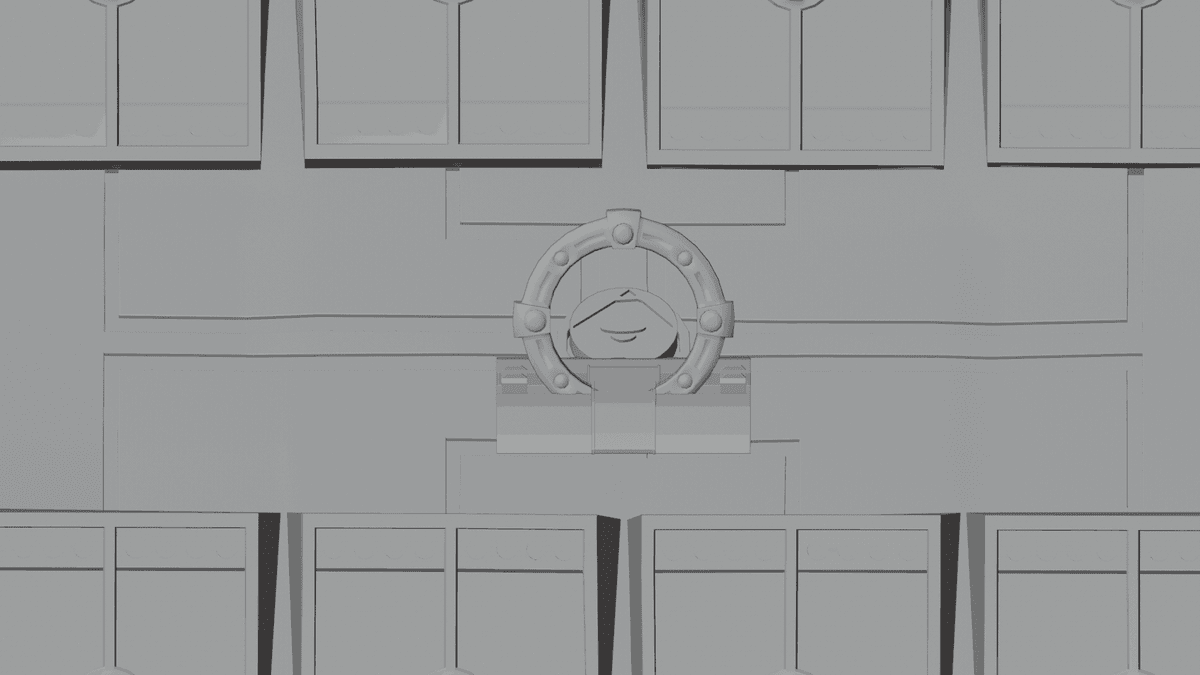
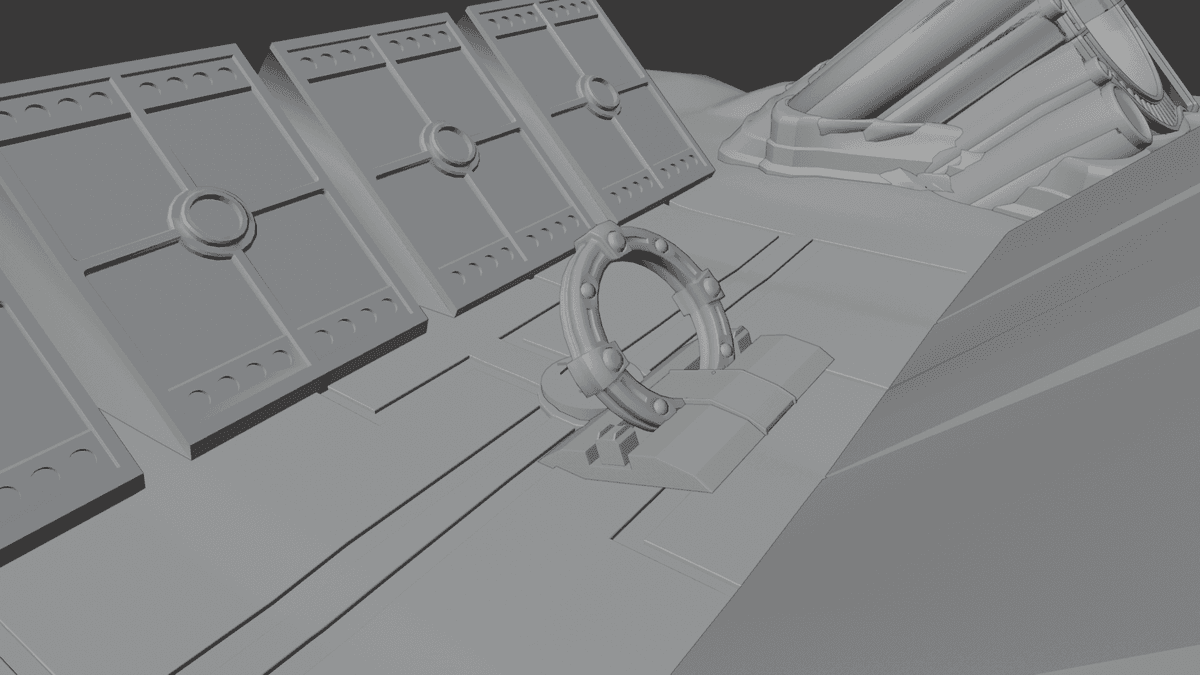
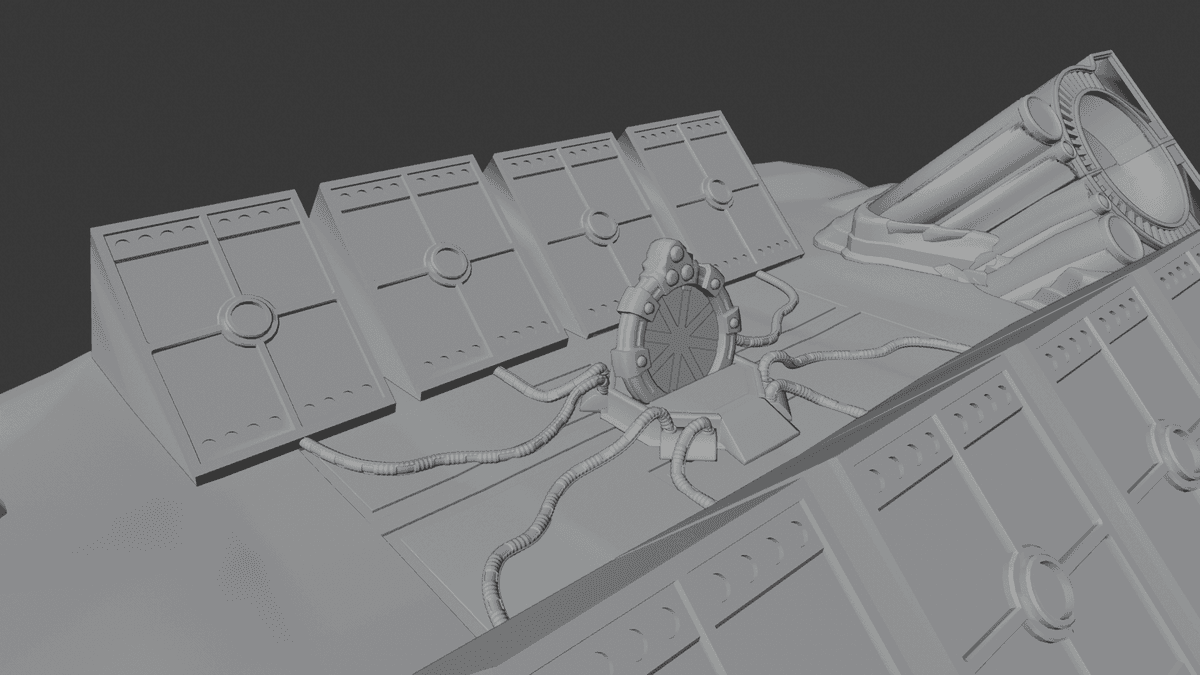
This worked well: lights indicated commit counts, and the center lit up based on whether the reward was minor or major. But I wanted to push the design further.
Modeling the Modern Portal
With the concept locked in, it was time to bring the portal to life in Blender.
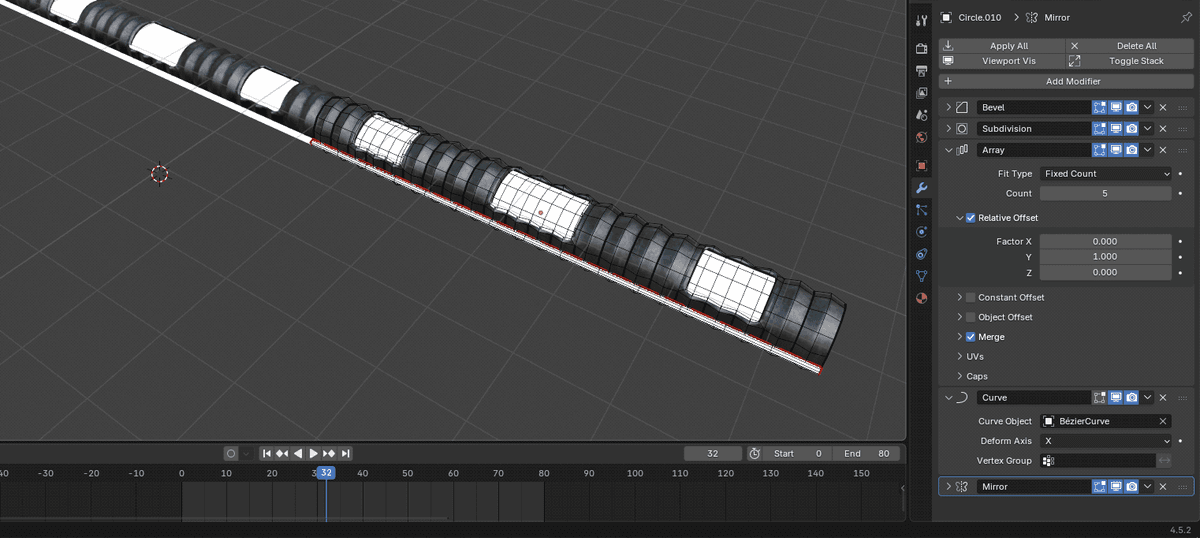
Cable Modeling with Modifiers
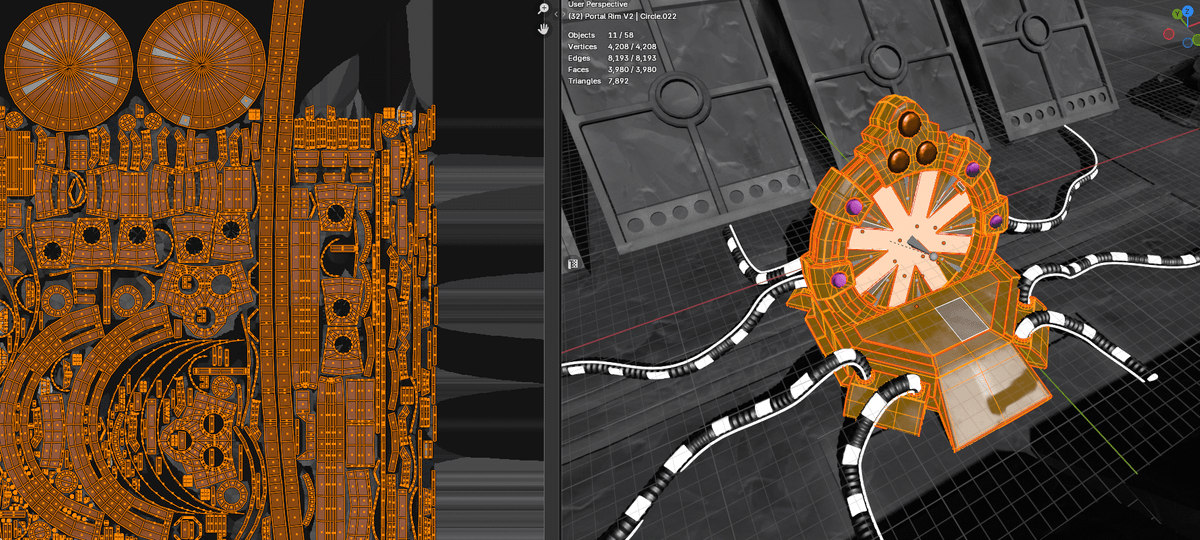
I used a Bevel + Subdivision workflow with Array and Curve modifiers to model the cables precisely and efficiently.
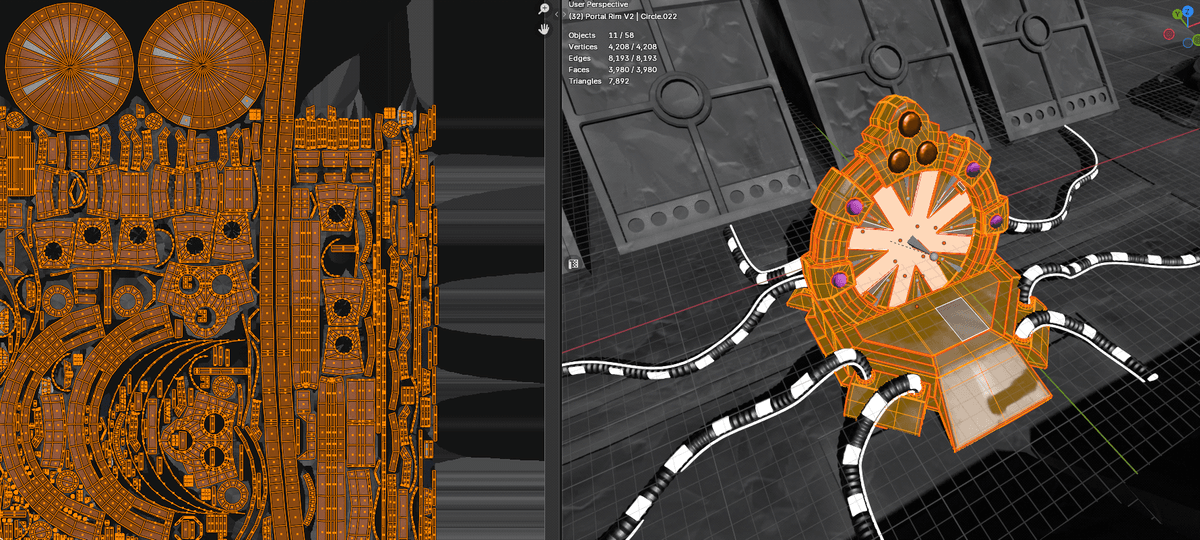
All cables share a 512px texture set with ORM maps (Occlusion/Roughness/Metalness packed in RGB) and Albedo. Lights use emissive materials in Godot; Blender used white placeholders for preview.
Mesh Breakdown
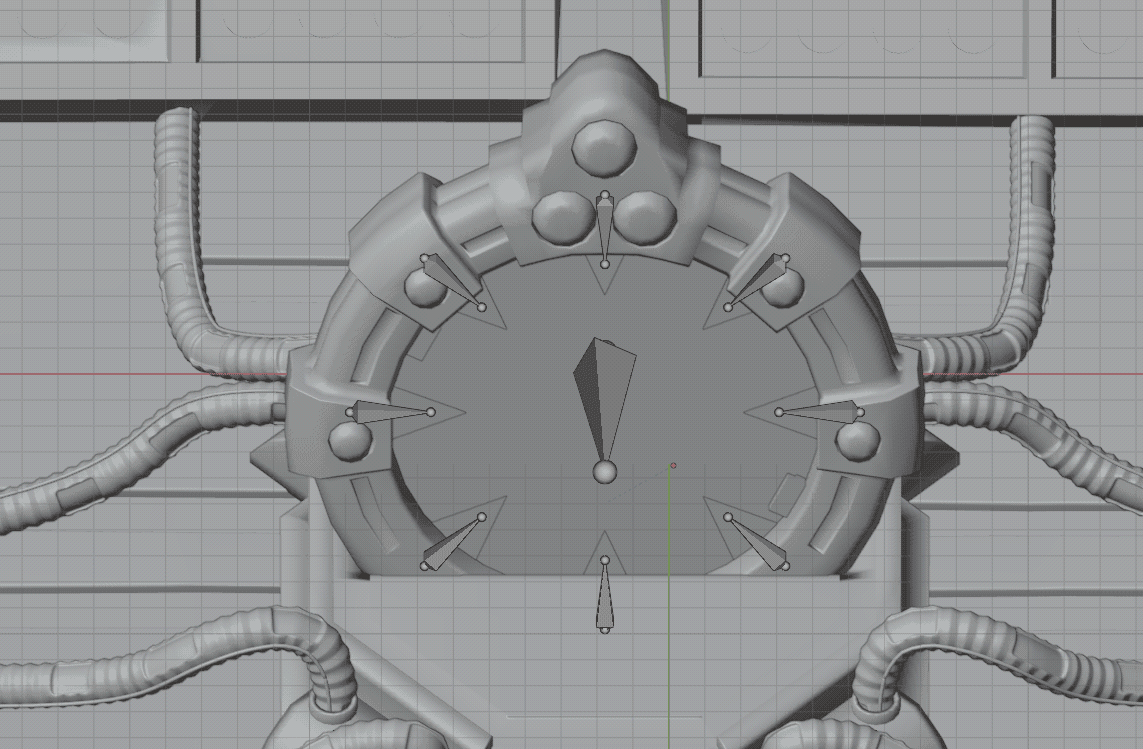
The portal consists of:
- 8 “pizza slice” meshes for the iris
- 7 half-spheres for lights
- 2 rectangles for the zipper
- 1 hexagonal base
Polycount: ~7.8k tris. UVs were cleanly organized for future detailing.
Animation: Giving the Portal Life
The portal iris needed a simple but effective opening animation.
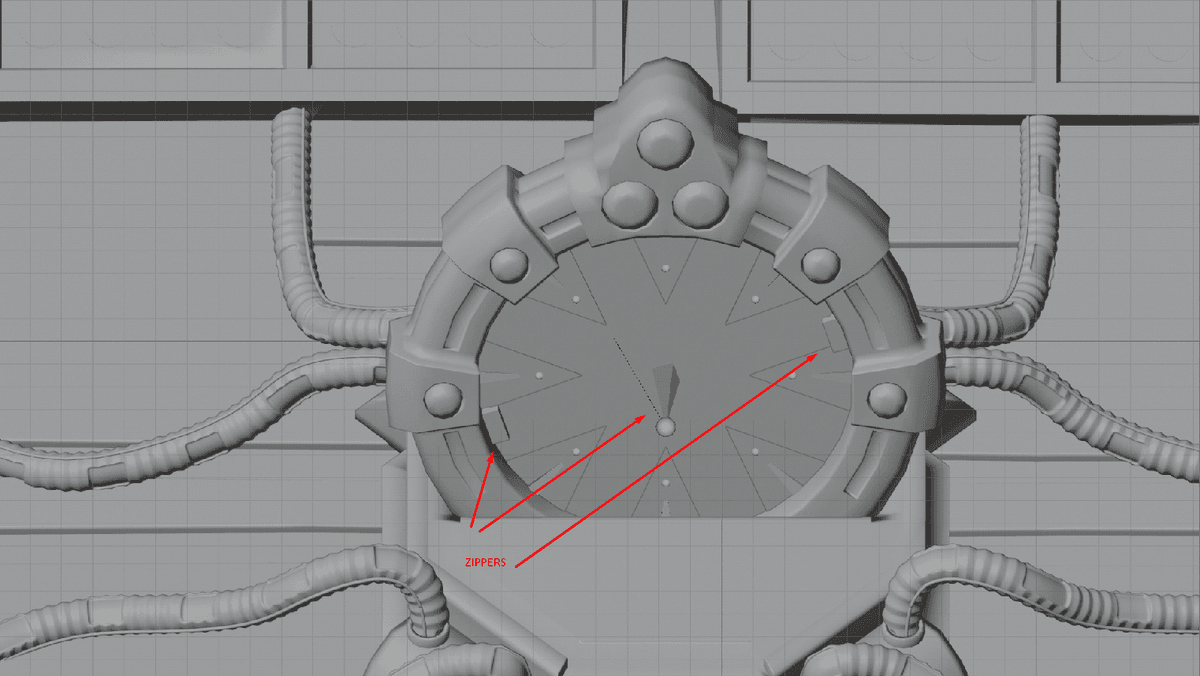
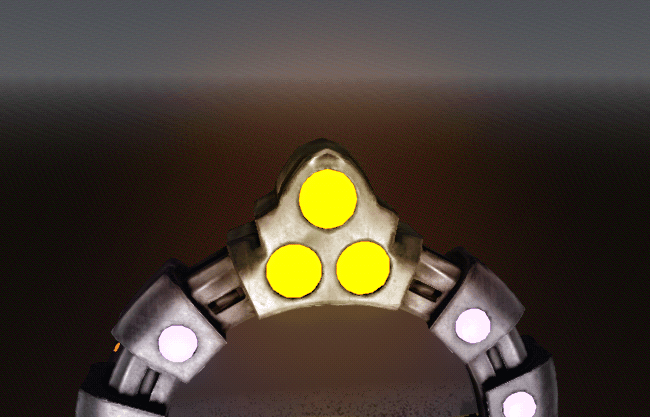
I set up 8 bones — one per iris slice — that retract inward. The zipper elements rotate around the center bone to create smooth circular motion.
💡 Key Takeaway: Even simple rigs can achieve compelling effects when paired with clean geometry and clear motion goals.
Lights, Materials, and Shader Magic
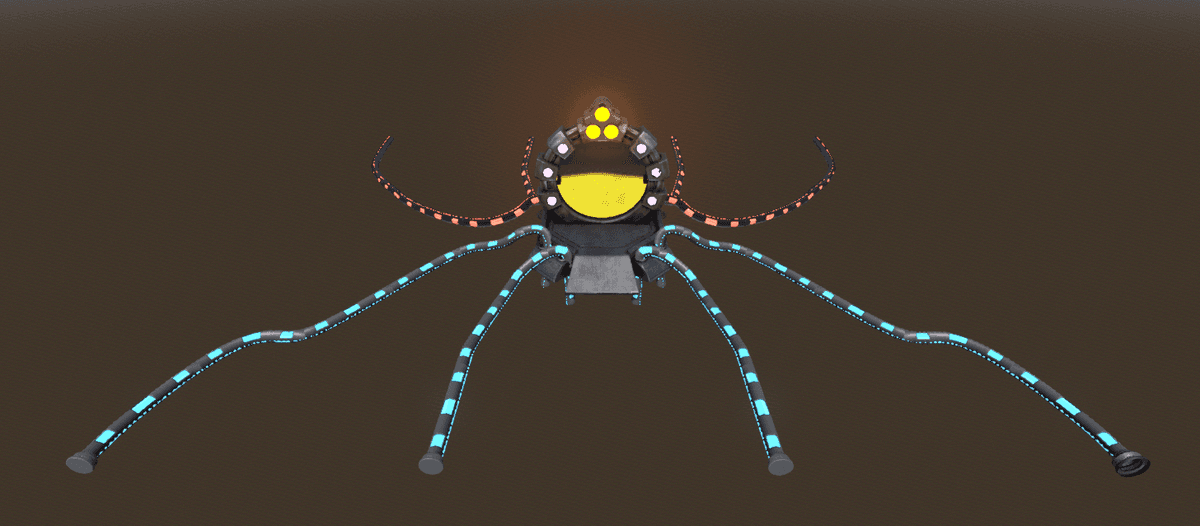
Each portal light uses a unique material based on its position (e.g., BL1.tres for Blue Light 1). Top-center lights represent major rewards. Materials were created in Godot, allowing emission strength tweaks for bloom effects.
Evolving the Design: OP Reservoir
Months later, the portal evolved into something new — a mechanical OP reservoir, charging at the end of each turn and distributing energy when players commit.
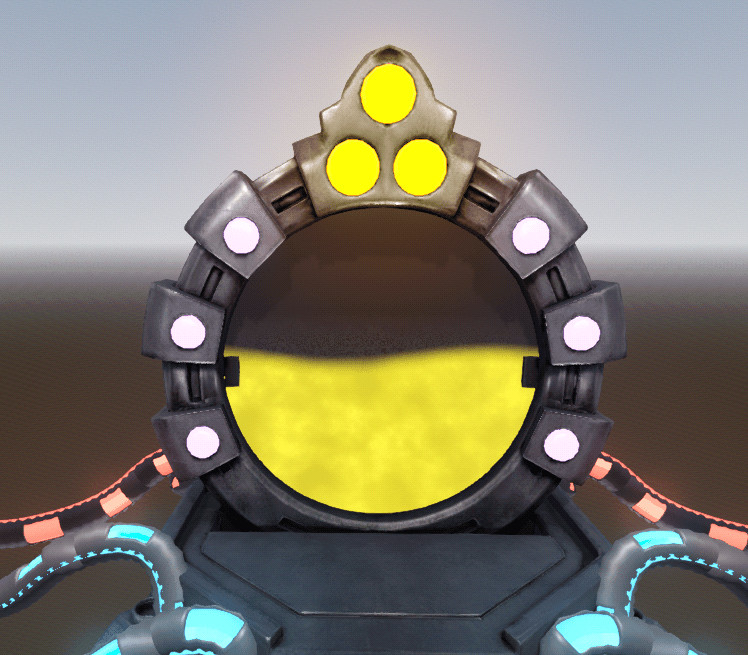
The iris animation was no longer needed — the portal remained open. Instead, I implemented a liquid shader applied to a center plane, filling or emptying based on OP stored.
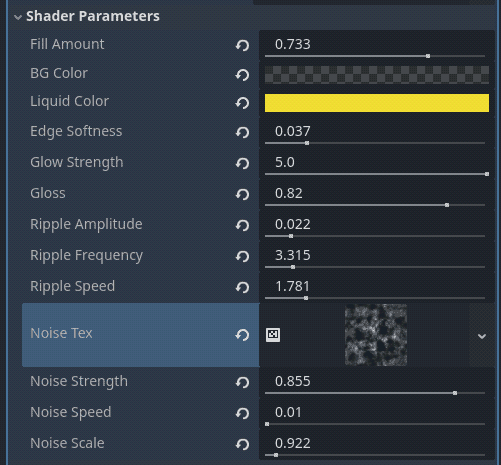
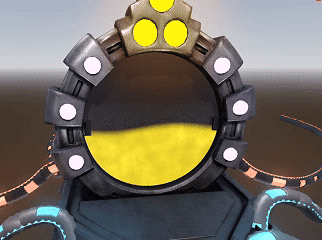
Shader parameters include:
- BG color (transparent/opaque)
- Liquid color & edge softness
- Gloss for glass effect
- Noise (strength, speed, scale)
- Ripple settings for waves
💡 Key Takeaway: Shaders can replace complex animations when the goal is to convey dynamic energy or flow.
Closing Thoughts
And that’s the story of the Portal — from rough sketches and mesh optimization to animation rigs and real-time shaders.
Will this design remain now that it’s an OP reservoir? Time will tell.
In upcoming Blender Corner posts, we’ll dive deeper into prop workflows, environment techniques, and integration tips for Godot. If there’s a particular Blender topic you’d like me to cover next, let us know on Discord.
See you next time, – Gustavo
